
View the National Domelight Company entry on BPindex
Visit the Rooflights and Skylights website
The Detail Beneath the Daylight
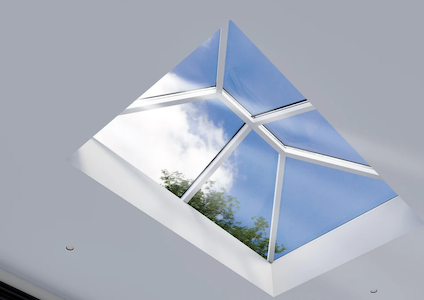
A roof lantern can transform an interior, bringing daylight into the heart of a building and creating a greater sense of height and space. However, its success depends on something far less visible: the accuracy of the builder’s kerb beneath it.
These three installation stages illustrate why the roof opening, builder’s kerb, waterproofing and lantern should be designed as one coordinated detail.
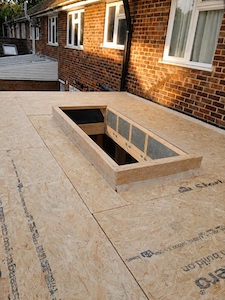 1. Forming the opening and kerb
The structural opening establishes the internal daylight aperture, while the builder’s kerb provides the support for the roof lantern. These should not be treated as the same measurement.
The lantern may be manufactured to suit the finished external dimensions of the kerb rather than the clear opening below. Its width, height and construction should therefore be agreed with the lantern supplier before work begins.
Accuracy is critical. A kerb can have the correct length and width but still be out of square, so both diagonals should be checked. The top surface must also be level and sufficiently wide to support the lantern frame and accommodate the required fixings.
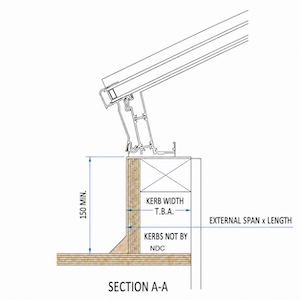 Be aware that the required kerb width varies according to the lantern system and the roof’s thermal requirements, typically ranging from around 75mm to 150mm. A wider kerb can accommodate more insulation and help achieve the required U-value, but it also reduces the clear opening and available daylight. The final width must therefore balance thermal performance, structural support and daylight.
A typical kerb upstand is at least 150mm above the finished roof surface, subject to the requirements of the selected lantern and roofing system. This must allow for the complete roof build-up, including insulation and waterproofing, rather than being measured from the structural deck.
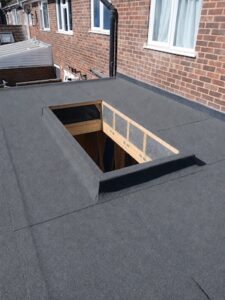 2. Weatherproofing the upstand
The second stage shows the flat roof and kerb covered with roofing felt. The waterproofing must be dressed securely around the upstand without compromising the level fixing surface.
Felt or membrane can also affect the finished external dimensions of the kerb. These should be checked before the lantern is ordered or manufactured.
3. Installing the lantern
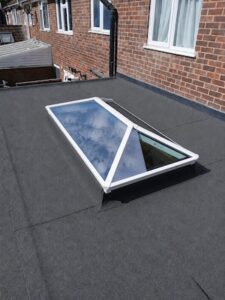 When the opening, external kerb dimensions, height, squareness and waterproofing have been properly coordinated, the lantern can sit evenly and achieve the clean, symmetrical appearance intended by the architect.
The lantern may provide the daylight and architectural impact, but the detail beneath it determines how successfully that vision is realised.
Are you confident that the roof opening, kerb and waterproofing have all been designed to work together?
Whatever the scale or complexity of your rooflight requirement, Rooflights & Skylights can provide the practical advice and technical guidance needed to help you specify the right solution for your project.